I could have titled this post “When Good Recipes Go Bad.” If you’re an experienced cook, you know it sometimes happens that a recipe leaves something out or makes an error in figuring out how much of an ingredient you need. Time estimates also can be way off, I find. If you’re inexperienced, take heed. This is why I say you should trust your own judgment and not necessarily follow a recipe exactly. Individual conditions may vary. A recipe can’t always take that into consideration.
Chicken was on sale, so I looked in my recipe box for something I had never made and came up with one for a Chicken Satay Pizza. Sounds good, right? But as I assembled the dish, it was clear this recipe was lacking in several things.
So, I’ve modified the recipe into something of my own. That’s what cooks do all the time. Don’t be afraid to make changes depending on what ingredients you have or what you learn about the dish when you make it.
I had that happen to me with a recipe the first time I made homemade bread. The recipe looked simple enough. Not too many ingredients. Relatively simple instructions. Too simple. The recipe must have assumed I had worked with yeast before. It left out several details about that. But I found answers later and have never looked back. Well, not too much.
Satay refers to grilled meats basted in peanut chili sauce. It’s a dish found all over Southeast Asia but is most associated with Thai cuisine. What makes this dish Satay is the use of peanut sauce as the base of the pizza. Instead of grilling, we’re going to sauté the chicken. This recipe calls for sliced Provolone, but you can use whatever pliable cheese you like, such as Mozzarella, Monterrey Jack, or Munster.
A Note About Sautéing: There are a few tips to make this quick frying method as easy and painless as possible.
- Allow the pan to heat up completely before adding any oil or anything else. I like to let the pan heat slowly, putting it over low heat while I get together my ingredients. As I do my prep work, I gradually turn the heat up. This helps prevent the pan from getting too hot.
- A non-stick pan works well. But if you’re browning or adding a sauce, you might want to go with a regular pan.
- Add just enough oil to barely coat the bottom of the pan and a bit up the sides. If the pan is hot, the oil will be ready for cooking immediately. Don’t let it sit too long or the oil will start to smoke and burn. If it smokes immediately when you add it to the pan, your pan is too hot.
- Make sure the food you’re sautéing is dry. Pat it down with paper towels before adding it to the hot oil.
- Don’t crowd the pan. It’s okay to do the cooking in batches if you need to. Crowding the pan causes the food to steam rather than brown. That’s usually okay for vegetables, but not so good for meat.
- After the food has been in the pan for a few seconds, start moving it around. This will help keep it from sticking.
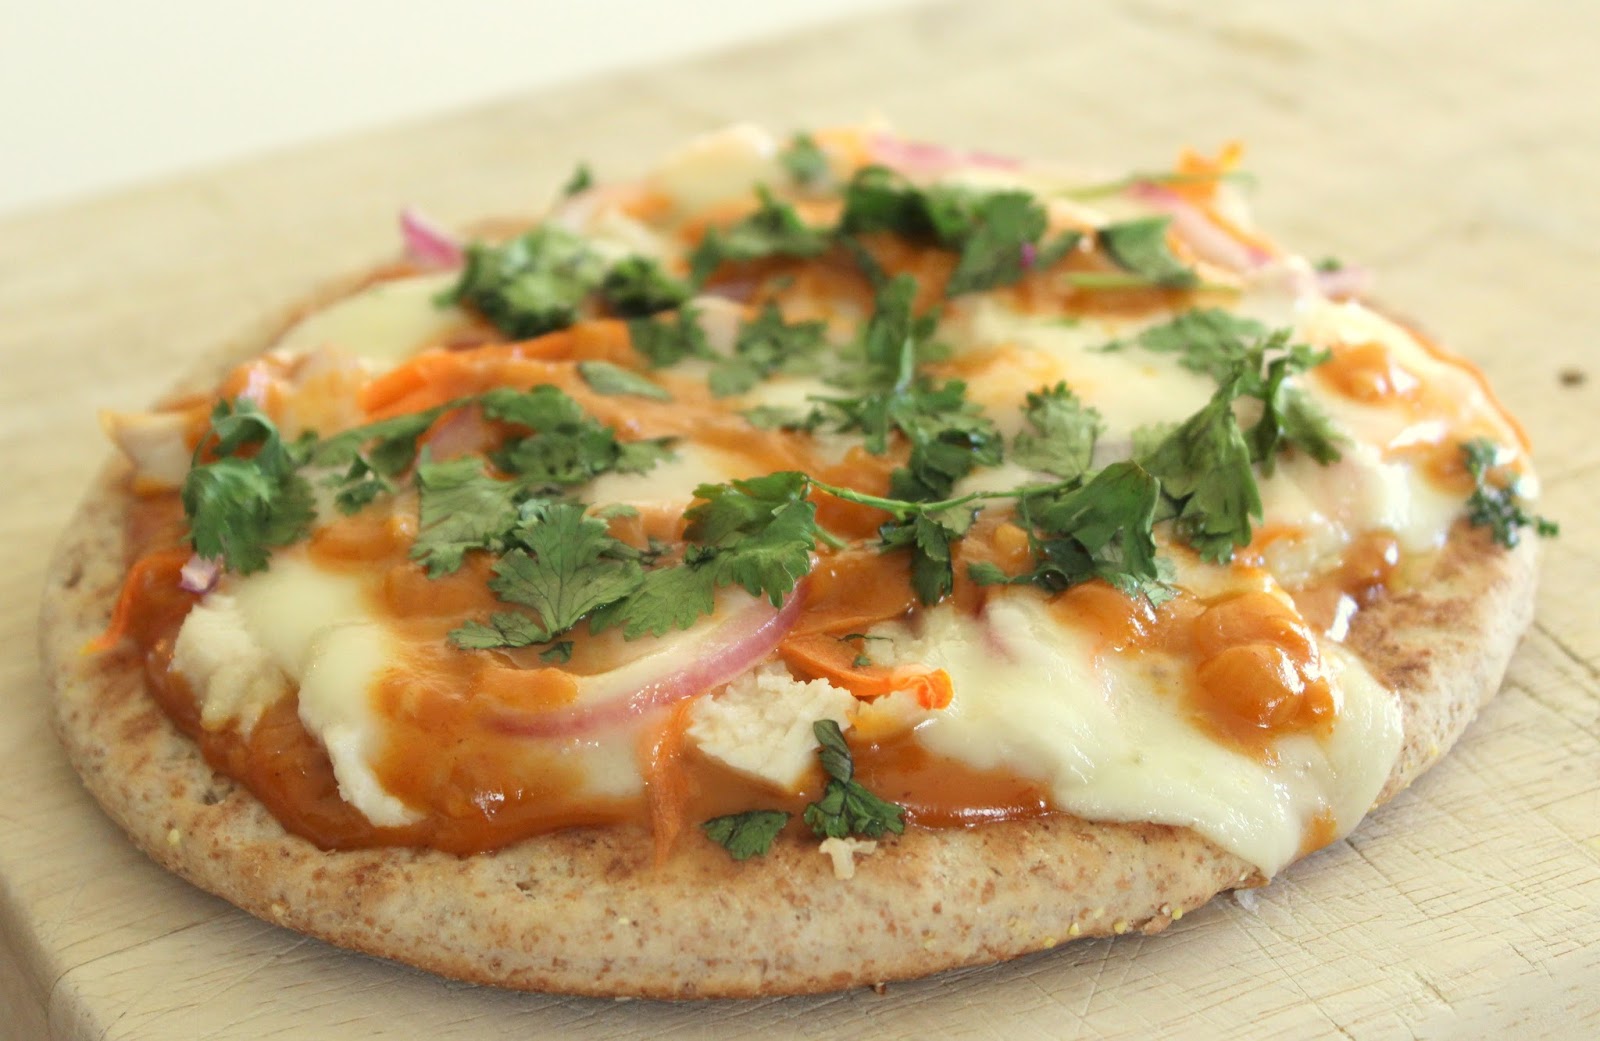
Here’s James’ Satay Chicken Mini-Pizzas
Serves 4
Equipment: Sauté pan, cookie sheet or baking sheet, aluminum foil, plate lined with paper towels, wooden spoon, chef’s knife and two cutting boards or one that can be thoroughly cleaned between uses.
Ingredients:
- 2 boneless, skinless chicken breast halves cut into bite-size pieces about 1/2 inch wide.
- 1/2 cup prepared Thai Peanut Sauce (you probably won’t need all this)
- 1/4 cup chopped green onions (one bunch trimmed and using only about one inch of the green part)
- 2 tablespoons vegetable oil
- 8 slices Provolone cheese
- 4 whole wheat pitas
- Salt, pepper, paprika, oregano, and dried basil to taste.
Directions:
- Heat a medium saute pan to medium or medium-high heat. Add oil and saute the chicken breast pieces just enough to get browning started. Do not overcook. Season the chicken pieces with salt, pepper, paprika and basil.
- As the chicken pieces are done, move onto the paper towel-lined plate and cover loosely with aluminum foil. Always cover meat like this to hold in heat, but make sure steam can still escape.
- Preheat oven to 425°F.
- Lay the pitas out on a cookie sheet or baking sheet as flat as possible. I like to line the sheet with foil to make cleaning easier.
- Spoon and spread peanut sauce on each pita, just as you would with pizza sauce.
- Add a handful of chicken pieces on top of each pita and sprinkle them with the chopped green onions.
- Top each pita with two overlapping slices of cheese so most of the pitas are covered.
- Bake on the middle rack in the oven for 10 to 12 minutes or until the cheese is melted and bubbly.
- Remove and allow to sit for two to five minutes before cutting in six wedges each.
This goes great with a nice salad or a mix of rice and steamed vegetables.
If you have a recipe you’ve made your own, share it with us here at The Bachelor’s Kitchen by clicking on the comments link below or going to the Contact Us page. You can also send us an email at bchlrkitchen212@gmail.com.