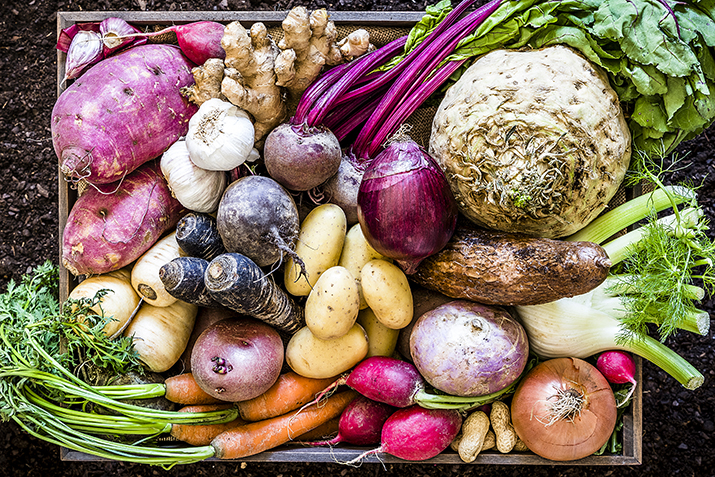
Most people just throw away the tops of onions, the tops of celery, carrot peelings, and the greens of scallions when they’re prepping their vegetables. Smart people have a small compost heap in the yard. Don’t worry, they’re not smelly if you keep all animal products out. Really smart people don’t have to do that because they know how not to waste food. They take those trimmings and make stock.
The best thing about homemade stock, no matter what kind it is, is that it adds so much more flavor to almost anything in place of water. Get into the habit of having a “dump” bowl on your counter for when you are doing your prep work. It’s a good idea to have two, one lined with an old produce bag from the supermarket so it can just be tied closed and thrown away when I clean up. The primary bowl is where you’ll put carrot peelings, and other trimmings. Then, when you’re done, it’s easy to do whatever with them.
Now, the two-bowl theory as I like to call it, is not ideal for those in small kitchens, like most bachelors. But finding space to sort your trash as you go will make it easier to clean up when your cooking is done. Inside one bowl, you have your ingredients to go into your vegetable stock. In the other bowl is everything else. That includes onion skins, potato peelings, any animal product including eggs or dairy, green stems from tomatoes, or dried twigs of old herbs. Most of those items will create a cloudy stock which could even be very unpleasant tasting. If you’re not ready to cook now, just put those trimmings into a sealable bag and into your freezer until you are ready to use them. When the container is full, it’s time to make stock, an easy weekend activity.
What Should You Use?
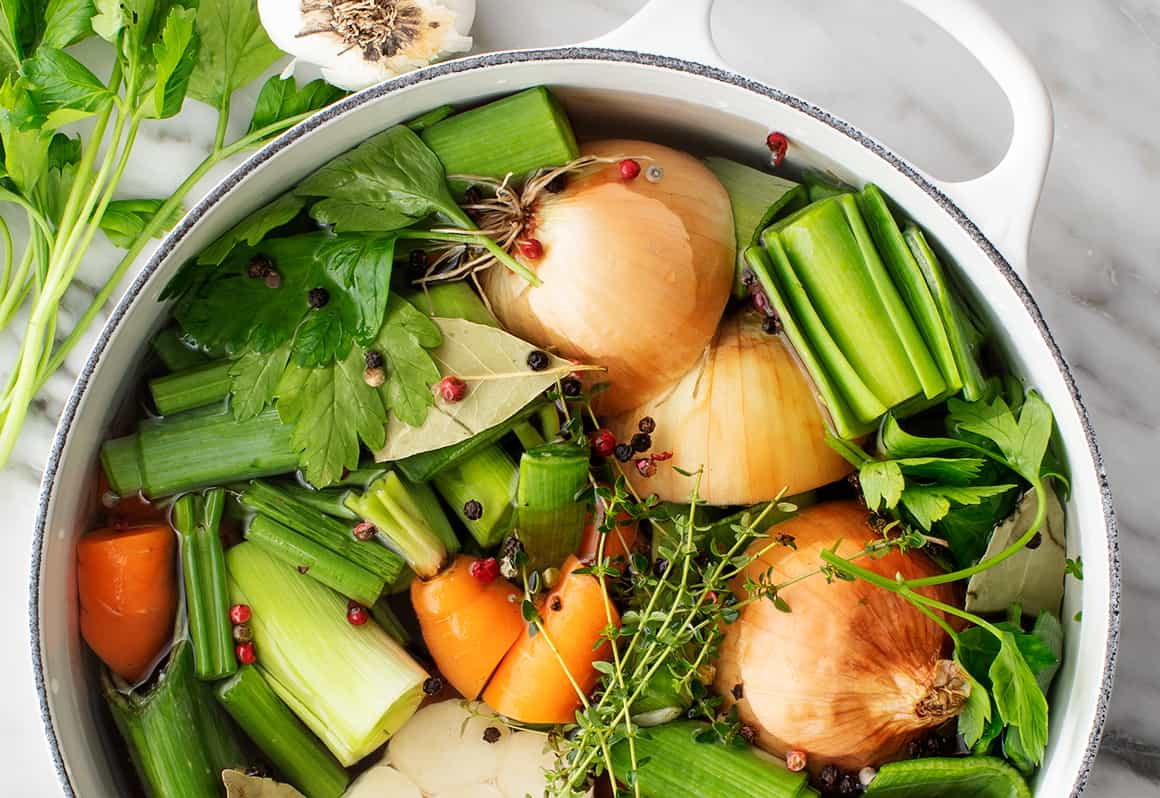
Onions, garlic, celery, and carrots should be the base of a good vegetable stock. In addition to the trimmings you’ve saved, peel and cut into large chunks a couple of medium-sized onions. Just cutting them in half, from the root end to the top is best.
Break up a whole head of garlic and peel the papery cover off each individual clove. Keep the cloves whole, otherwise, they fall apart in the pot.
I don’t like to peel carrots unless necessary. Just scrub the skins thoroughly under cold running water, just as you would a potato. Cut into large chunks.
The outer leaves of celery stalks are bitter, so think about whether you want to add them. But the tops and leaves of the inner stalks are great. Also, use the root ends after they have been thoroughly cleaned.
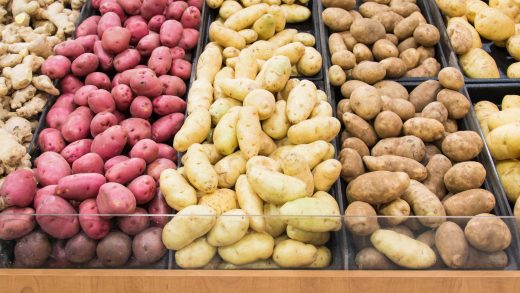
A potato scrubbed and cut into large chunks will add a thickening effect to your stock, but peels alone will break down and create a cloudy, gluey mess.
Bubble, Bubble, Fast Or Slow
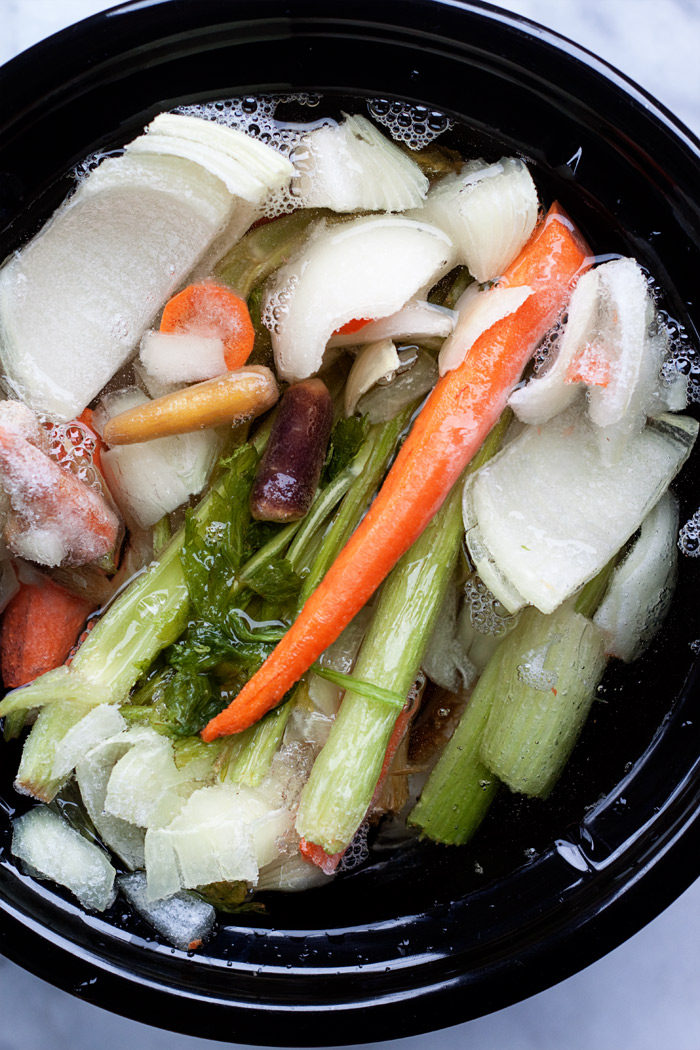
I think a slow cooker is ideal for making any kind of stock. But if you don’t have one, a large pot, like a stockpot, is just as good. Load all your ingredients into the pot and add enough water to cover by about an inch. Now is also a good time to add seasonings. Peppercorns, bay leaves, herb stems and trimmings, parsley, rosemary, thyme, basil, and similar fresh herbs and aromatics are good additions. If you don’t have fresh, you can use dried, but you might want to put them into a tea ball or a cheesecloth bundle so they don’t cloud the stock. Don’t use powdered or ground spices for the same reason unless you don’t mind them floating in your finished stock. You want to add flavor, but you also want it to be as generic as possible so it can combine with other ingredients and complement them rather than dominate the other flavors.
If using a slow cooker, cover and put the heat on high for at least an hour or until you see some simmering at the sides. Then turn it down to low and let it continue for at least three hours.
Old School
Put the pot uncovered over high heat. Bring the whole thing to a boil and then turn down the heat to as low as you can get and still see some bubbles. Cover. Check to see that there’s still a very slow simmer. You may need to turn the heat up to medium-low to keep it going.
Simmer for at least an hour. You can let it go for up to three hours if you have other things going on.
Allow the stock to cool somewhat before straining. The liquid can go into sealed containers for the refrigerator or freezer. Refrigerated stock can keep for about a week. Frozen can last for months. Another possibility is to pour still hot strained stock into canning jars with new lids. The cooling stock will seal the lids which can then be kept in the pantry for several months without refrigeration.
Tips and Tricks:
Your finished stock should be a light, translucent color with a slightly sweet taste. For a darker, richer-tasting stock caramelize the onions and carrots but cut the chunks into slices and saute over high heat with a little oil until the natural sugars are drawn out and begin to brown the vegetables.

Roast your veggies for another way to add richness to the stock. Like sauteing, this will bring out the natural sugars and add a lot of flavors.
Don’t add salt until the end when you have tasted the stock. Adding salt too early will result in something inedible because the salt will concentrate as the stock cooks.
Use the cooked vegetables for mild flavor in soups and other dishes. Mashed these make a great thickener to sauces and soups. By themselves, they will have little flavor left, but that’s good for some uses. You can make vegetable patties or return to the pot to make a thick stew with beans and tomatoes or tomato sauce.
Use this stock instead of water when making soup, rice, cooking other vegetables or grains, and lots of other uses where you want flavor without adding calories or losing valuable nutrients.
In these tough times, we need to use everything, just as our ancestors did as they settled new territories on the American frontier. Take a page from their book and cut your waste and your expenses by doing more cooking ingredients on your own.