When it’s time to get the turkey into the oven for Thanksgiving, or any other holiday, there are a few things to keep in mind.
If you brined your turkey make sure it’s thoroughly dried before proceeding. If you don’t brine, rinse the bird thoroughly inside and out. Cook your stuffing, or dressing on the side. Instead, put inside the cavity of the bird some aromatics like apple quarters, onion quarters, a handful of garlic cloves, a cinnamon stick or two, a few whole cloves, and a bundle of fresh herbs if you have them. These will add some wonderful scents to your kitchen and flavors to your turkey. They will be discarded after cooking.
Start With A Dry Skin
Pat the skin dry with paper towels. Then rub it with olive oil or butter. Sprinkle on pepper, sage or poultry seasoning, and some dried herbs like oregano.

Follow the cooking directions that come with the turkey. Those are usually very accurate.
If your turkey has one of those silly pop-up timers, just ignore it. Don’t remove it until after the turkey is cooked. But don’t rely on it either. Use a probe-type food or meat thermometer to tell when it’s done. You want the white meat to reach about 160 and the dark meat in the legs about 180.
You may want to put a foil tent over your turkey for the first half of the cooking time. Removing it for the last hour or so will give a crispy skin. You may also need to apply foil booties to its legs if they start to get overdone.
After The Oven
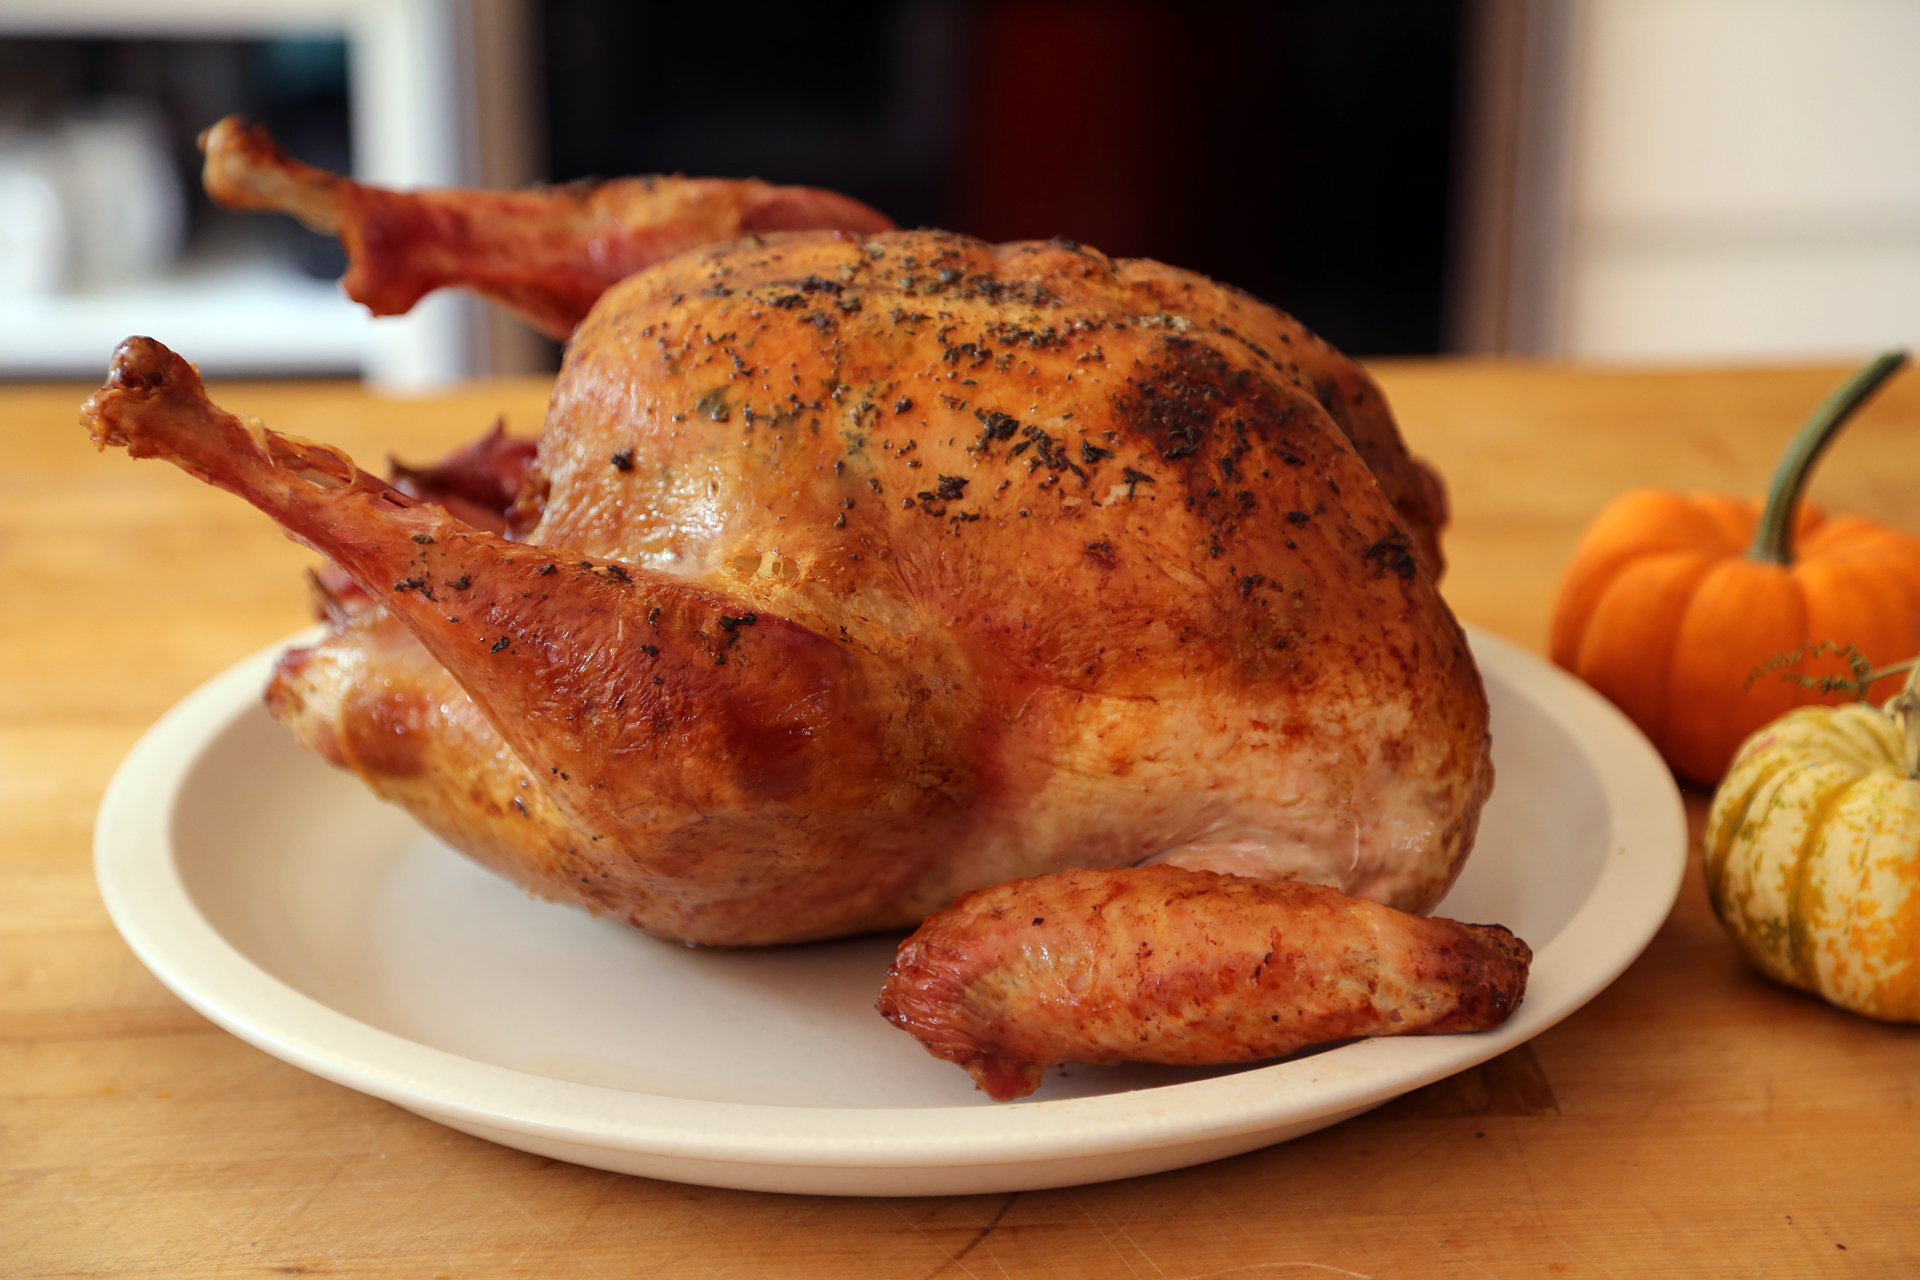
When the turkey is done, remove it from the oven. Carefully remove it to your cutting board. Turkey lifters might be handy but frankly, I’ve never found them that useful. I just use my meat fork and some other tool to lift it by the cavity and the neck hole, making sure the cutting board is right next to the roasting pan. Cover it loosely with foil and let it rest for about 20 minutes.
All those bits in the bottom of the pan should go to make a delicious gravy. Here’s where those goodies you took out of the cavity earlier come in. Put the neck into a plastic bag and put it away for later. This will go into making stock later. Whether you use the liver to make your gravy is a matter of personal taste. It has a strong, metallic flavor. But for sure you’ll want to use the rest of the “giblets,” the heart and gizzard. Cut these up fairly fine and set them aside.
Don’t Forget The Gravy
Making gravy is not hard, although some people think it is. If your pan is a hard roasting pan, just put it over your largest burner. You may need to put it over two burners if it’s big. If you use a foil disposable pan, you’ll want to transfer all those good, flavorful bits and juices to a saucepan. Be sure to deglaze the pan with some white wine, broth or just water.
Some people will tell you to pour all the juices into a glass measuring cup and put that in the freezer until the grease rises to the top for easy removal. Others recommend a gravy separator, pouring just the rest of the juices into the pan. But personally, I like to keep the grease in so I can make a sort of roux. Your choice.
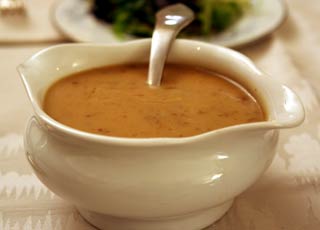
With the pan over medium-high heat, stir in about three tablespoons of all-purpose flour. Keep stirring as you sprinkle the flour around, allowing it to merge with the grease. Add a little water or chicken broth to keep the mixture from getting too thick and to help loosen up the lumps if there are any. Yes, you will be stirring a lot, but this really works. Add another cup of water or broth and a half-cup of white wine if you have it. As the mixture heats it will thicken up. Once it comes to a simmer, turn the heat down to low and keep stirring until nice and smooth. That’s it, you’re done. Just pour into your serving vessel.
Whether you’re feeding just yourself, a friend or two, or a whole crowd, homemade gravy beats anything out of a can, pouch or bag.