Many people who have been stuck at home have been trying their hand at baking bread. If you have you know how good homemade bread can be. It is a major part of our human culture.
We understand why the second oldest profession in human civilization is a baker. Making and baking bread is not difficult. After all, we’ve been doing it for thousands of years. It is, in one form or another, a staple for at least half the world.
But even when it’s not difficult, it IS time-consuming. Oh, it’s not like you have to stand over it all day, most of your time is spent waiting. Waiting and watching. The process relies on something you have little control over — little tiny creatures that eat sugar, reproduce like bunnies, burp carbon dioxide, and pee alcohol.
The rewards, however, are worth it. Making your own bread just seems to taste better. Also, you know exactly what’s in it. No dough conditioners or other stuff used to make commercial breads. And once you get the hang of it, you open up a whole new world of possibilities. You can use different kinds of flour, add seeds or nuts, spices, and even dried fruit. Just remember to set aside most of the day and to start out slow and easy.
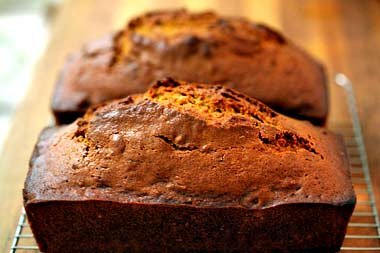
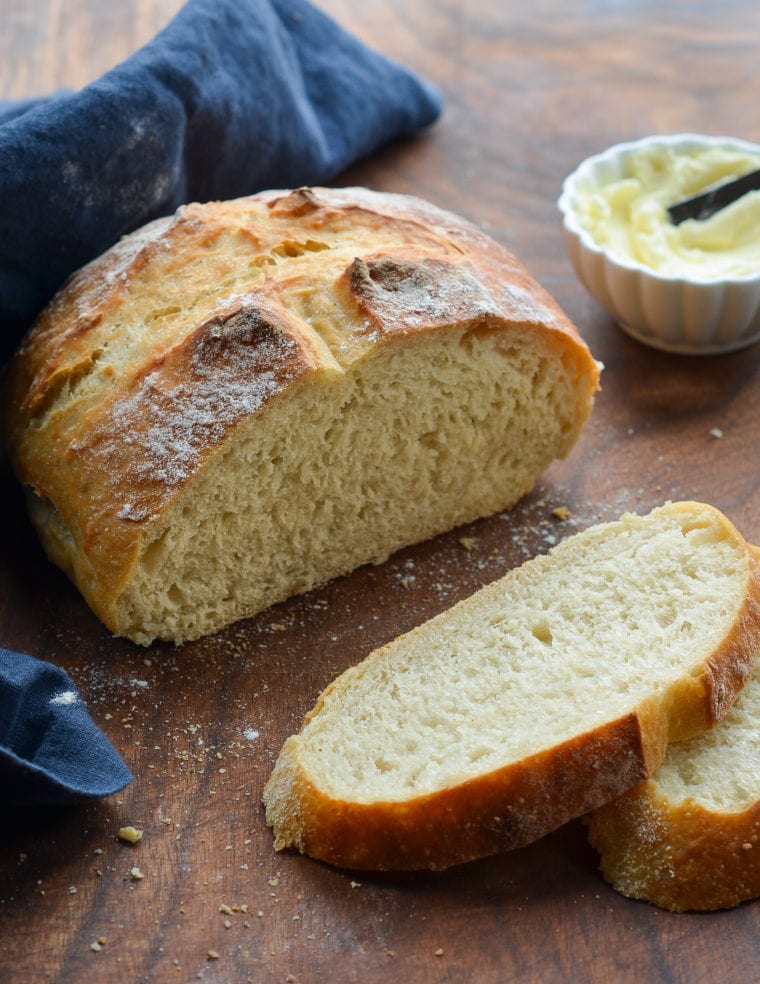
There are many different recipes for bread. There are quick breads, like banana bread or pumpkin bread, that don’t use yeast. These are usually sweet and dense. And then there are yeast breads that rise up light and fluffy (or they should if you’ve done it right) and beg for fresh butter.
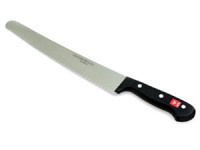
Let us make one note here: If you don’t already have one, invest in a bread knife. It makes a big difference in the quality of the slices you make from your loaf. Even if you just make rolls, this type of knife makes splitting them so much easier.
The only other special equipment you’ll need is a couple of loaf pans. In addition, you’ll need two large mixing bowls, a couple of kitchen towels, a spoon, your food thermometer, your glass measuring cup, and dry measuring cups and spoons.
The ingredients are also simple and can vary from one recipe to another. This one makes two large loaves or a 9-x-13″ pan of dinner rolls.

Basic Yeast Bread
- 1 package active dry yeast (the stuff that comes in the little packs in a string of three or four).
- 2 cups warm water at about 110 F. This is probably the hardest thing because this temperature is critical. Too cool and the yeast won’t wake up, too hot and you kill them.
- 1 cup sugar. You can’t really replace this with artificial sweetener because this is the yeasts’ food. You can, however, replace it with honey.
- 1/2 cup butter or oil. I usually just use olive oil, it adds a nice flowery taste and a chewy texture.
- 1-1/2 teaspoon of salt. Without this, the bread doesn’t taste right.
- 2 eggs, beaten.
- 7 cups flour. Lots of recipes call for bread flour, but All-Purpose seems to work just fine for me. Also, you can replace up to half the amount with whole wheat flour. If you can get unbleached flour, even better. You can also use other flour like buckwheat, spelt, amaranth, or oat flour. But remember, the less regular flour you use, the denser and smaller the bread. That’s why I never replace more than about half.
This is not a recipe for bread machines. If you have one, you’ll have to look up a recipe or buy one of those pre-made mixes.
You might get the water warm enough from the tap, and that’s okay. Just use your thermometer to make sure it’s between 110 and 115.
Empty the yeast packet into one of your mixing bowls. I also like to add a tablespoon of sugar. When these yeasties wake up, they’ll be hungry. Then add in the water and stir to dissolve the sugar and yeast. Let it sit for 5 to 10 minutes. When you come back, there should be a yeasty, beery smell and a bit of froth around the outer edge of the liquid. If it looks like muddy water with no foam or smell, your yeast is dead and you’ll have to start over.
Stir in the rest of the sugar, the oil or butter, salt, eggs and start working in about 4 cups of the flour. Stir until everything’s combined and smooth. You’ll need a little elbow grease at this point, and it just gets worse. That’s why professional chefs and experienced cooks use a stand mixer with a dough hook attachment. That saves a lot of time, but I don’t have one, so I just get a bit of exercise.
Stir in all but about a cup of the rest of the flour. You can always add more if needed, but you can’t take it back out. Work it until you get a soft, sticky dough.
Heavily flour your countertop on whatever clean surface you’re going to use to work the dough. Scrape out the dough onto the floured counter and top it with a good portion of the flour you held back.
You are going to get your hands dirty in the rest of this, so make sure they’re clean. You should at least coat them with flour. Some cooks like to put a little oil on them. Now, the fun begins.
There are different techniques for kneading your bread, but here’s the one I was taught. Grab a hunk of dough on the side and pull it up over the main part of the mass and pat it down into the rest of the dough. Turn it 45-degrees and repeat, pushing it down a little. You’re going to work the flour on top of the dough and on the board into the dough. Just keep doing that until the dough becomes less sticky. Then flatten it out into a thick square and fold it in thirds, like a letter, pushing the folded dough into the rest. Turn 90-degrees and repeat. Feel free to add a bit of flour if it still feels sticky. Keep working it until it feels kind of elastic. You can check this by pulling off a little piece and then stretching out the middle the way you do with bubble gum. If you can get it thin enough to see light through, you’re good. Otherwise, keep working. This process can take up to ten minutes.
Heavily grease your other bowl. Pick up your dough ball and pull the sides down to tuck under the bottom of the ball, creating a smooth surface all around the ball. Then drop the ball into the greased bowl and roll it around coating the whole ball with the grease. Cover with a wet dish towel and set the bowl in a warm place for about an hour, until it has doubled in size. My friend Priscilla, a master baker, says she’s been known the run the dryer for a few minutes and then put the bowl inside (without the dryer running). You can also heat the oven a little with a shallow pan of water on the bottom rack and then put the bowl on the next higher rack, into the steam bath you’ve created. Just make sure it’s not too hot. You’re not ready to bake just yet.
Here’s another little tip I’ve picked up. About 30 minutes into the rise, when the dough is about half again as big as it was, uncover the dough and grab the side of the dough next to the bowl wall, pull it up and over the top. Do that all around the bowl. This gives the yeast new food to eat. Try not to deflate the dough. Recover.
When it’s doubled in size, push the dough down, pushing the air bubbles out. Turn it out onto your floured counter.
Now you’re ready to divide and shape the dough. Use a sharp knife and cut the dough into two or three equal pieces and shape it into loaves and put it in your greased loaf pans. The dough shouldn’t halfway fill the pans because they will triple in size before they’re done.
Re-wet your towel and cover the loaf pans. Put them in that warm place again for about another hour until the dough has doubled.
See what I mean about a lot of waiting?
Now, heat the oven to 350℉ and bake your bread, without the towel, of course, for 25 to 30 minutes or until golden brown. Rapping the loaf on the top should give you a hollow sound.
After letting the pans cool for just a few minutes, NOT MORE THAN 5, the loaves should easily fall out of the pans and can be placed on racks to cool. You want to maximize airflow around the loaves, otherwise, it’ll get soggy on the bottom. You might even turn them upside down.
Wait for the bread to cool completely before cutting, otherwise the interior of the bread will ball up as you cut.
I’m not a master baker, so if you know of anything I missed, please let me know. Bread easily freezes, just be sure to wrap it well and not keep it frozen for more than a few weeks. I usually freeze one loaf and eat off the other for a week.
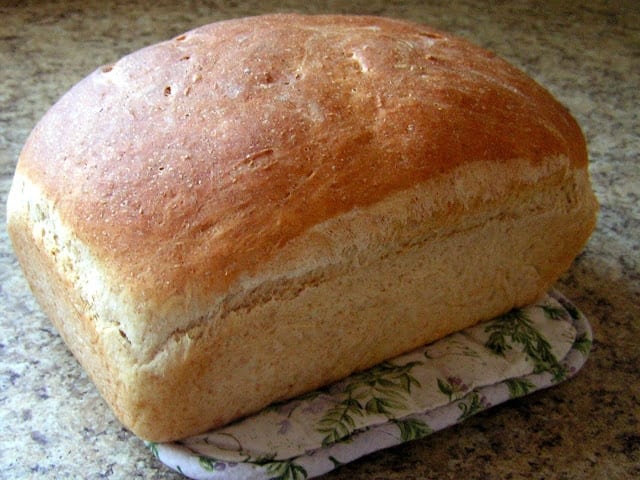
Here’s my own bread recipe. Currently, I have been using honey instead of sugar and two cups of flour are whole wheat.
Why would you go through all this when you can buy a loaf of bread at the store? Well, just try it and see. Once you taste that homemade bread, you’ll want to give it a go once in a while.